During emergencies and disasters, it’s not enough to pack your survival bag with food and water. Your supplies will eventually run out so you have to make sure you know how to make a snare trap to catch food.
You can make your own snare depending on the materials available. Made using wire or cord, it works by trapping an animal around its neck or body.
If you are interested in making one for survival, read on.
Understanding a Snare Trap
A snare is a basic trap designed for catching small animals with a snare noose that is made of robust string or wire. Animals are caught around the neck, body, or back leg.
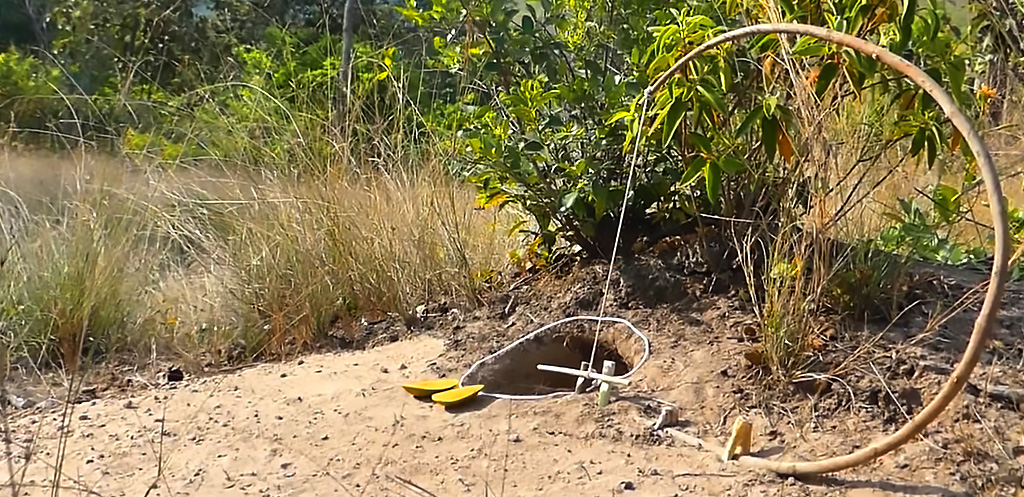
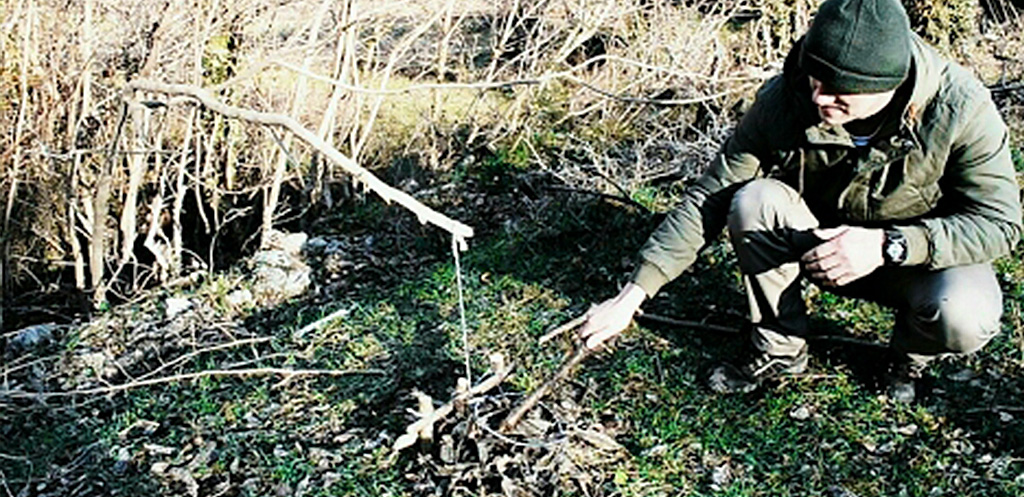
With the use of a snare trap, the slip knot and loop are where the head of the animal goes in. These tighten up as the shoulders of the animals pass through. The snare is anchored to the ground and attached to a long stick.
Snares are easy to make. There are snare traps that can be bought and assembled. If you don’t have access to ready-made snares, you can easily make one using naturally available materials. Snares are cheap to produce and can easily be made in large quantities.
What Is Trapping?
Trapping is a basic skill for survival. Trapping-survival skills come in handy when you don’t have access to the grocery. If you have trapping skills, surviving the wilderness will not be too difficult. Whether you are hunting or expecting disasters to happen, learning how to trap is helpful.
When you are in a survival situation, time and energy conservation should be your priorities. That is why making survival snares is a very crucial survival tool. Constructing snare traps are easy and can save you time and energy to do other things to ensure your survival.
Components of a Snare Trap
You can catch wild game if you can set up as many as ten snare traps around your dwelling. With ten snare traps, you can hunt in various locations, and the greater your chances of having enough meat to feed yourself and your family.
There are several snare trap designs devised in different parts of the world depending on the resources that they have. Given this, most snare traps still make use of the same basic concepts and components.
The basic components of a snare trap are the cable, anchor, and prop. You can read more about these components in detail below:
Snare Cables
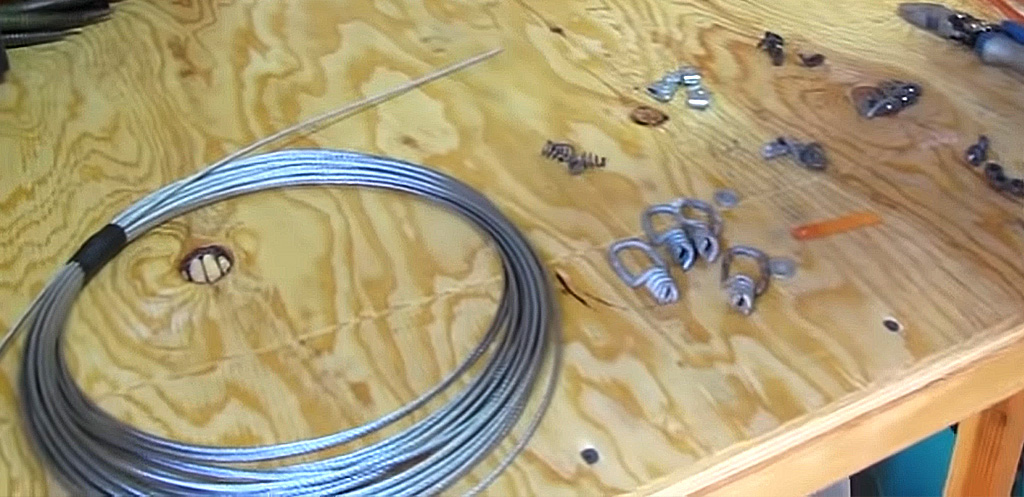
Snares are made of different kinds of cables. These cables also come in different sizes. Common cable configurations are 7×7, 1×19, 7×19, and 1×7.
The suggested snare cables based on weight rating and breaking strength for catching certain animals are listed below:
| Weight Rating | Cable Configuration | Animal |
|---|---|---|
| 270 lbs | 3/64 7x7 | Rabbit, mink, marten, and small raccoon |
| 375 lbs | 3/64 1x9 | Rabbit, mink, marten, and small raccoon |
| 480 lbs | 1/16 7x7 | Rabbit, mink, marten, small raccoon, small fox, and beaver |
| 500 lbs | 1/16 1x9 | Rabbit, mink, marten, small raccoon, small fox, and beaver |
The 7×7 snare cable strand configuration simply means there are seven snare wire strands wrapped together. Seven of these wraps are again wrapped together to form one solid strand with a total of 49 strands.
The 7×7 strand configuration is ideal for snare-making because it is flexible, strong, and hard to break. Animals caught using the 7×7 strand can’t escape despite their twisting and turning. Animals will have a hard time chewing this strand configuration.
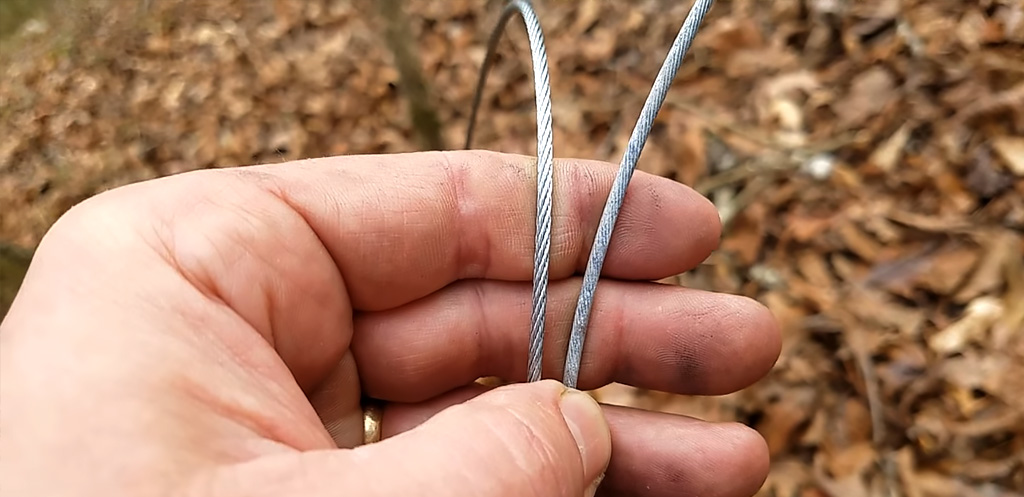
Despite being the preferred cable for snare making, the 7×7 configuration comes with a drawback. With the 7×7 configuration, you will struggle to make a rounded hoop. Because of its strong configuration, you will end up having a tear-drop-shaped hoop instead.
The 1×19 configuration on the other hand will allow you to make a rounded hoop with much ease. This configuration type is a favorite by most snare users because it is easier to set. Unfortunately, the 1×19 is the easiest to break, untwist, and chew on.
If in case a snare cable is not available, as an alternative, you can improvise using a fishing line, shoelace, twine, strips of cloth, or rope.
Snare Anchor
Effective snare traps are well supported. The best place to position the support system is where there are several animal sightings. You can then attach your cable to a tree or any robust support with a robust wire like a coat hanger.
Snare Prop
You need to set up the height of your snare trap depending on your target. To adjust the cable and ascertain that the height is appropriate for your target, you may use a thick piece of wire or stick.
You may refer to this guide on the appropriate height of your snare trap:
| Animal | Loop Size | Snare Height |
|---|---|---|
| Beaver | 10” - 12” | 3” |
| Racoon | 8” - 9” | 3” - 4” |
| Coyote | 9” - 12” | 10” - 12” |
| Bobcat | 7” - 8” | 10” - 12” |
| Fox | 6” - 8” | 6” - 8” |
Parts of a Basic Snare Trap
When planning on assembling your snare trap, you need to know its components to be able to make an effective trap. Here are the basic parts of the snare trap:
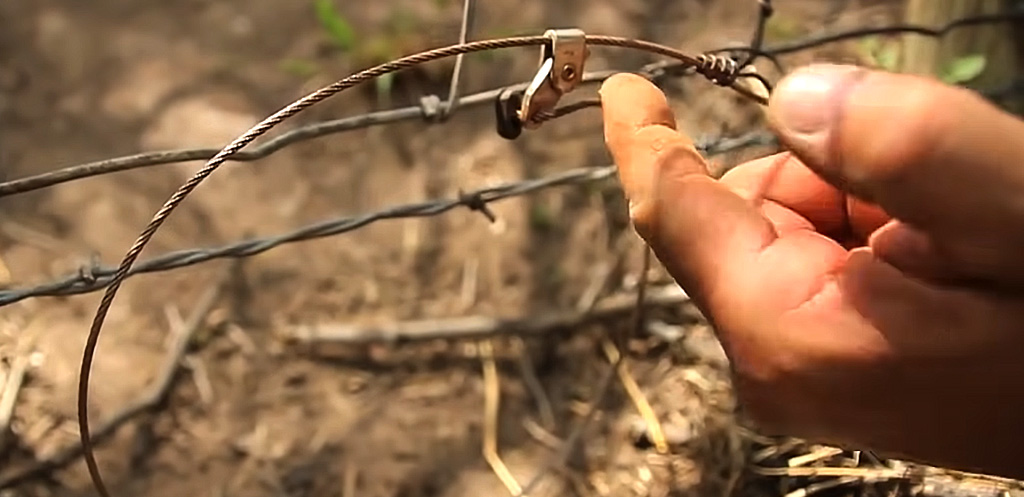
Swivel Head
The snare swivel head is the anchor point of the snare which allows the cable to swivel when the animal is turning or twisting. Using a swivel head prevents cable breakage, loss of fur, or worse the escape of the target.
End Stops
End stops or ferrules are responsible for making the snare stay together. End stops come in single and double barrels. The double-barrel is for forming loops while the single barrel is for securing the swivel heads and ensuring that the whole snare doesn’t fall off.
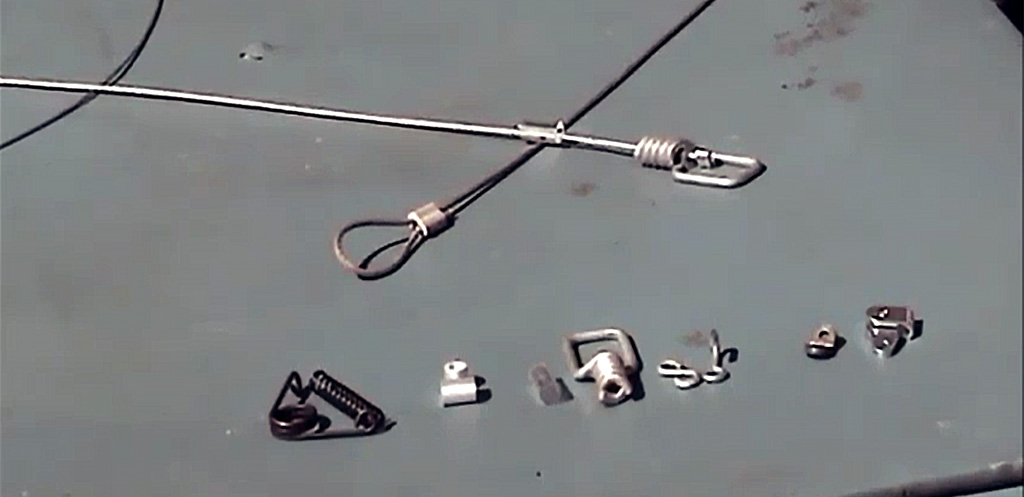
End stops are available in steel, aluminum, and copper. These can be smashed or crimped onto the cable to maintain a secure hold.
Micro Lock
Micro locks are used for all snare traps because of their fast closing feature and help minimize pelt damage. The micro lock is positioned on the snare loop end. The lock ensures that the prey will not escape when there is tension.
Snare Support Collar
The snare support collar, also called twist lock or whammy supports the snare loop at various heights. It also helps in better positioning when making a set.
The support collar is used by inserting the wire and twisting the collar so it fits tightly. Twist lock collars are recommended because they can hold the wire tighter.
Washer
Snare washers are available in most stores. Washers are a very important component for they secure the swivel head onto the cable.
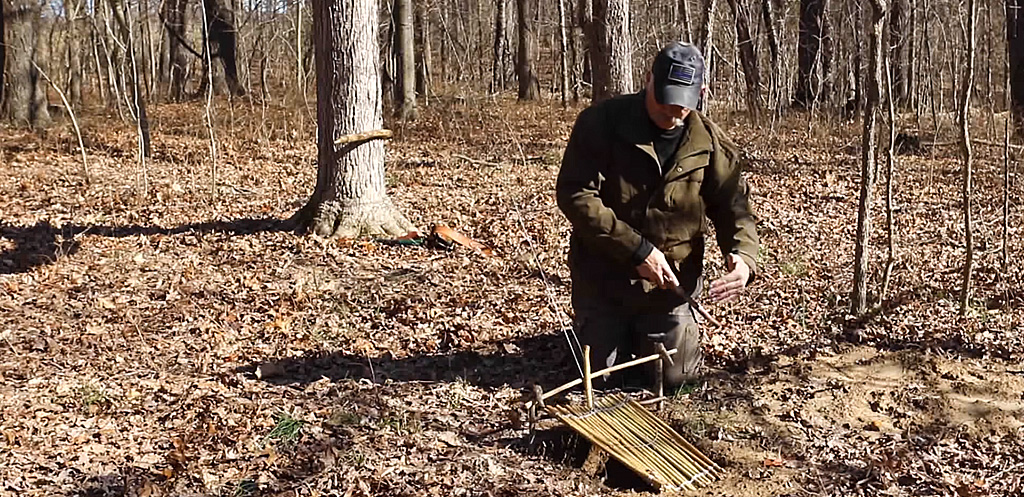
Different Snare Designs
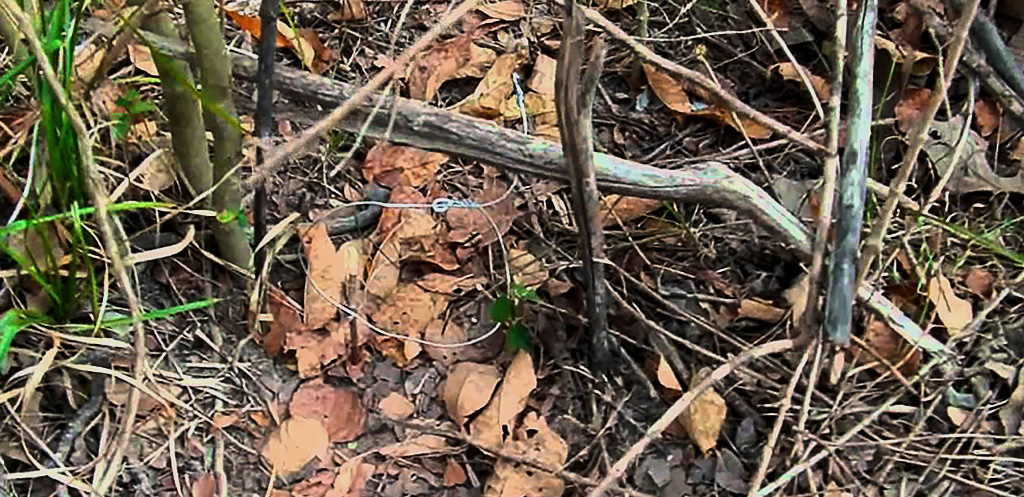
With several snare designs to use, the recommended and go-to snare design by most survivalists is the trigger spring snare. The trigger spring snare is made up of four components: noose (wire or cable), two-part trigger (wood carving), leader line, and engine (bent oversampling).
Aside from the trigger spring snare, there are other trigger modifications you can practice on. Here are some of these modifications:
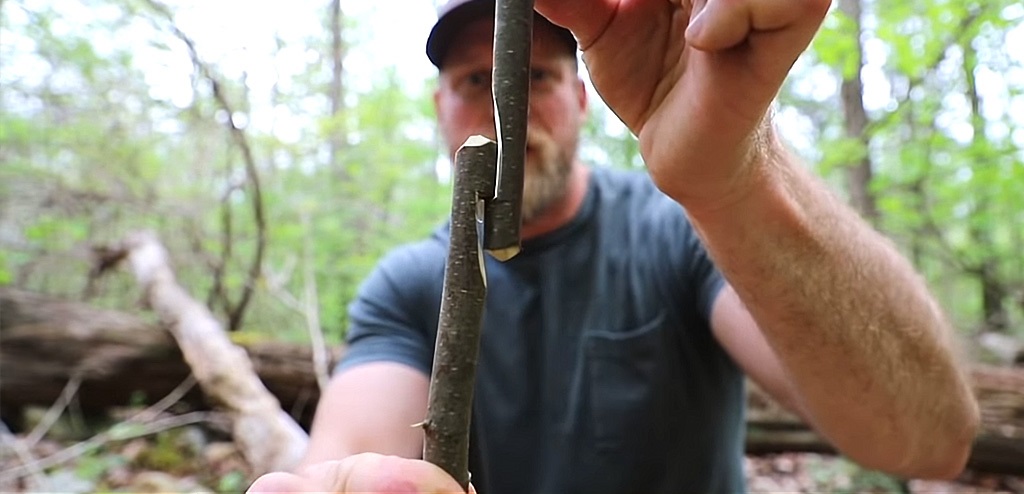
- Carved or Hook Trigger. This trigger-style requires the carving of two hard wooden sticks and the base is staked to the ground.
- Primitive “Y” Stick Trigger. This trigger-style gives nature the chance to dictate the trigger system. This trigger-style requires less carving. You just need to scout for 2 wooden sticks that branch out.
- Peg Style Trigger. This trigger-style doesn’t have a staked base. The hook of this trigger is secured on a peg which you can position on a nearby log, rock ledge, or tree. You may modify this trigger system by turning it into a baited trigger.
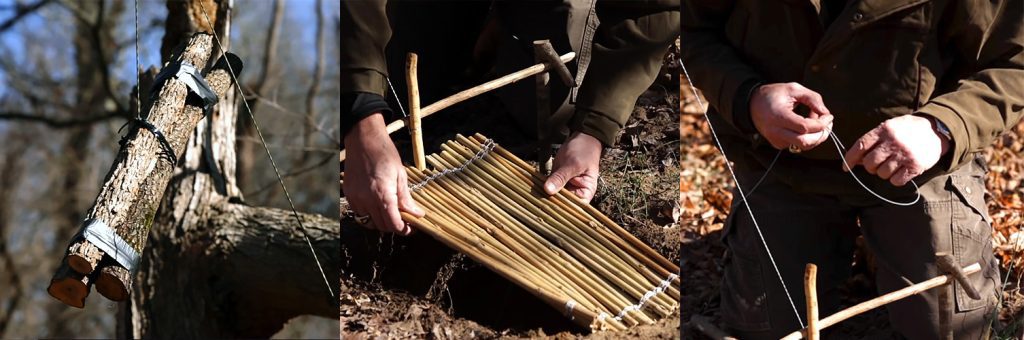
Assembling Snare Components
If you are able to correctly follow the steps below, you can make a fast closing snare for catching food when you are in a survival situation.
Step 1: Position the Snare Cable and First End Stop
To begin, you first need to cut the snare cable to your preferred length. For small snares, you can cut it approximately between 3-4 feet, medium snares for 5-6 feet, and large snares will have a cable length of 7-8 feet.
Using one finger, hold the cable and balance it. This is how you determine the lay of the cable. Since cables have been wrapped around a cable spool for a long time, they have the tendency to have either a left or right curve.
Whichever direction the lay leans on, this becomes your anchor point. This is called the cable’s head. You have determined the anchor point, you can now position the end stop along the end of the cable that has the curve. Hammer the end stops in place.
Step 2: Attach the Washer
Place the washer on the other end of the cable that doesn’t have the end stop. It should slide down to the end stop. This will fasten the swivel head in preparation for step three.
Step 3: Install the Swivel Head
While holding the open end of the cable, insert it into the swivel barrel’s opening. The loop end should be facing down the cable. You can then slide the swivel down the cable. The washer stops the swivel head from sliding off the cable.
Step 4: Install the Twist Lock
Insert the twist lock or support collar to the open end of the cable. Slide down the twist lock where the large end is facing down the cable going to the swivel head. To move on to step five, slide down the twist lock and out of the way.
Step 5: Install the Micro Lock
With the open end of the cable, fix into place the micro lock through the rounded cable slot. The long slot of the micro lock should point to the open end of the cable. It is through the long slot that the end stop will be installed to.
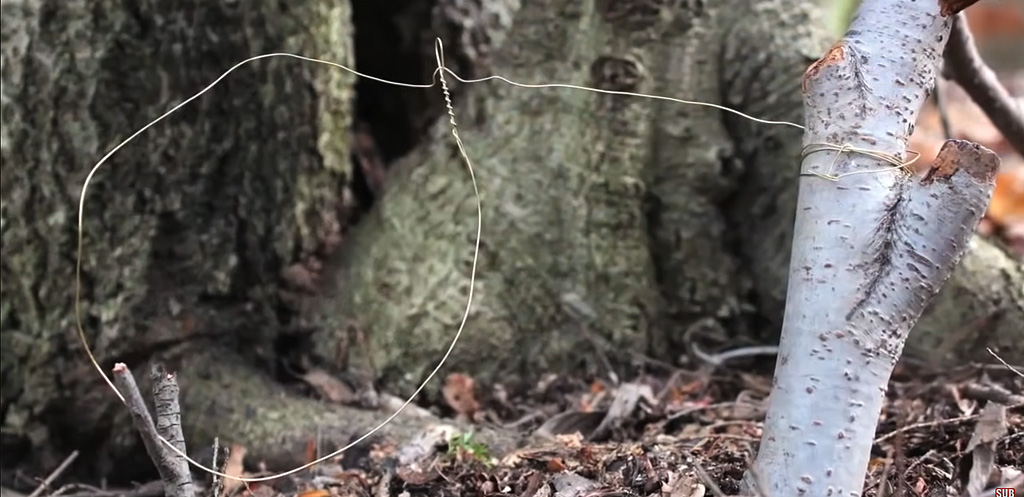
Step 6: Make a Shepherd’s Cane
The shepherd’s cane ensures that the micro lock is positioned right on the snare and can close with the right speed and best possible manner. Forming the shepherd’s cane is a crucial part of making a snare trap.
You have to constantly practice doing this step. You don’t have to feel discouraged because so many people have struggled with perfecting their shepherd’s cane. With practice, you can get it right and it will no longer be a challenge for you.
To begin forming a shepherd’s cane, you need to loosely hold the open end of the cable, given that all the other hardware is on the other side of the cable. Lay the cable as naturally as possible across your hand or fingers.
The cable will fall in its natural curved position. After determining the natural curve or lay of the cable, you can begin forming the shepherd’s cane. Using a pair of needle-nose pliers grip the cable at left or right-hand level position depending on whichever is your dominant hand.
Then, bend the cable facing you while still maintaining the cable’s natural lay. Clasp the cable ends with your thumb. Crimp the cable to form a 90-degree angle. Sometimes, the end of the cable may look frayed.
You can remedy this by cutting off the frayed part and installing the end stop. Doing this will ensure that the cable can be launched at ease. After which, install the 90-degree end into the long slot. Install another end stop to the 90-degree end and hammer it down or use a crimper.
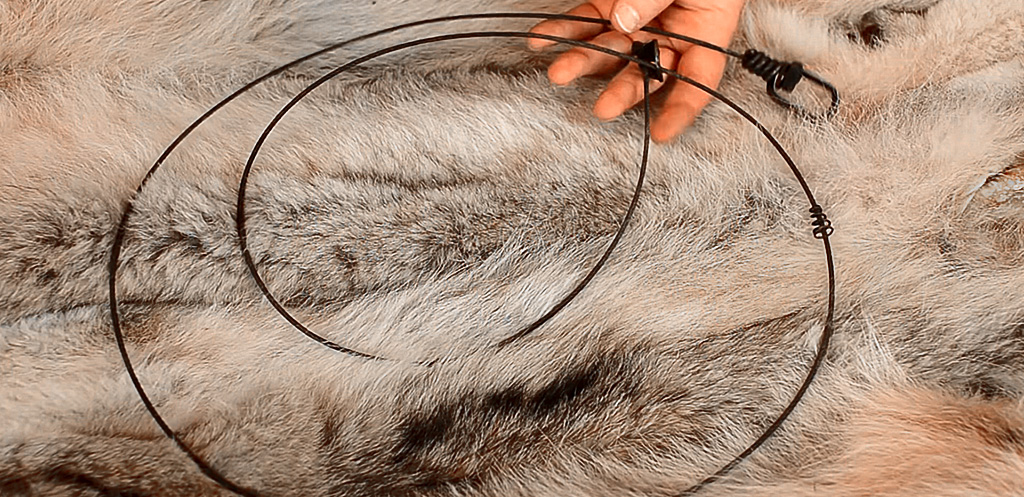
Making a Snare Loop or Rabbit Snare
Rabbits are easy to catch and their meat can satisfy your hunger when you are out in the wilderness. If you want to catch your dinner, you need to know how to make a snare loop or a rabbit snare.
Snare wires are readily available in most hunting stores or outdoor retail stores in your area. When purchasing snare wires it is advisable to go for steel wire, brass or copper. You can get a gauge 22 or 24 which are easy to use.
If you don’t have access to snare wires, you may also use a string or a thin rope. To make a rabbit snare, the steps are listed below:
- Using wire cutters, cut the wire into 2.5 feet long.
- Form a loop by bending the wire on one side of your fingers. The loop’s diameter should be an inch wide while leaving a backend of 1 or 2 inches long.
- Roll the back end around the wire’s long end below the loop. Doing this secures the loop. The loop should be tight enough to minimize the excess movement during the preparation process. The snare’s loop acts like a slip knot.
- Place the remaining end of the wire through the loop.
- Snare loop is ready for use. The size of the loop will adjust to the size of your catch.
Setting a Hog Snare
A hog snare is used to catch feral hogs on its leg or neck. When a hog is caught and exerts pressure to escape, the loop tightens to prevent its escape. To properly set a hog snare you need to consider the following conditions:
- Correct equipment
- Right location for setting up a hog snare
- Strategic snare positioning
In setting up a hog snare, you first need to spot the hog trail. Hogs have the habit of walking past the same trail in the hopes of searching for their food. Oftentimes, hogs follow the same trails of other domestic animals.
Steps in Making a Hog Snare
- Attach and secure a swivel at the end of the cable to a fence post, a T-anchor steered to the ground, a tree, or any robust material that can handle the intense pulling pressure from a hog.
- You can fix the snare’s loop from a single wrapped wire, or doubled wrapped wires that can split from the suspension point. The suspension point should be within the range of 1.5 feet and 3 feet high.
The suspension point can be a nylon cord placed between a hard piece of wire and suspended horizontally over the trail. The suspension point can also be a piece of wire around a fence or limp. - The loop’s diameter should be between 1 – 2.5 feet. Though the loop size should depend largely on the size of the hog you want to catch. Also, set the snare’s elevation.
Steps on Making Wire Snares
Two objects are needed to make a wire snare – wire and ferrules. The size of your ferrules should be of the same size as your wire.
Here are the steps on how to make wire snares:
- Cut the wire in varying sizes from 24 inches to 36 inches.
- Make a large loop that is larger than a pencil’s diameter. Let one end of the wire in and out of the ferrule.
- Crumble the loop down by using wire cutters. Don’t overdo this process for you may end up damaging the wire.
- At the main leg, cover the small nail for a clean trap. Do the same to the other end of the wire.
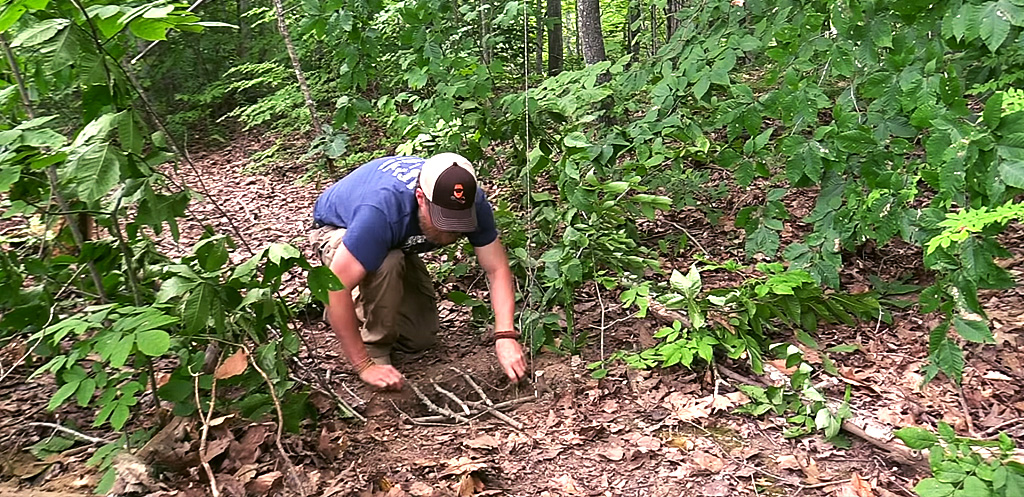
Choosing Where to Position Your Snare Trap
It is natural for animals to follow a designated path of least resistance to conserve energy. You can spot an animal’s trail by looking for places where you can commonly see animal droppings, tracks, rubs, scratches, feeding signs, and burrow entrances.
Use these details to effectively plan your trap. You can make a funnel by arranging rocks, dirt, sticks, and other objects in a way that would lure the target animal to the snare noose. Keep the area as natural as possible.
In keeping your snare trap looking natural, you can cover it up with leaves and sticks. Avoid disturbing it as much as possible. Animals are very sensitive to human scent. You may disguise it with animal urine.
Frequently Asked Questions
1. How do you make a simple snare trap?
To make a simple snare trap, you can use a twine with a slip knot that locks. To lock it, you can tie a double loop and twist together. You will then have two loops – one big and the other small. Insert the snare wire inside the small loop. Anchor it to a small and sturdy tree.
2. Can fishing lines be used for snares?
Yes, fishing lines can be used for snares. In your survival kit, it is recommended to stock on several wires or fishing lines for snare trap improvisation.
3. How do snare traps work?
A snare captures its intended target animal by the neck when it passes by. A loop wire is suspended from a tree or any robust composition. The snare tightens whenever the animal struggles to break free.
Conclusion
Disasters happen without warning. No one even knows how long it’s going to take. You never know until when your stock of food and water will last. Thus, you need to equip yourself with the skills for trapping. Knowing how to make a snare trap can help you catch your food and sustain you in the long run.
Snare traps are effective in any situation and climate. It can be used both night and day. Keep as many ready-made wires as you can in your survival bag. Wires are multifunctional and very handy during emergencies.
Surviving in the wild is tough if you are unprepared for tragedies. To better equip yourself with survival basics, refer to this guide. An excellent survivalist knows how to make a trap and knows its intended target. Bait your traps with food that the target animal usually eats.
Always check your traps. You never know when a predator takes them before you do. For more inspiration, you can check out this survival story in the wilderness on our blog.